Introduction
Crafting your own beaded necklace can be an enjoyable and fulfilling experience. Whether you are a beginner or an experienced jewelry maker, knowing how to tie a beaded necklace properly can be a game-changer. This guide covers everything from the materials required to advanced techniques, ensuring you walk away with a beautiful finished product you can wear or gift proudly.

Materials You Will Need
Before diving into the process of creating your beaded necklace, it is essential to gather all the necessary materials. Here’s a list to get you started:
- Beads: Choose beads based on your design preference. They come in various shapes, sizes, and colors.
- Beading Thread or Wire: Ensure it’s strong enough to hold the beads and flexible for tying knots.
- Clasp: This is crucial for securing your necklace. Options include lobster clasps, toggle clasps, etc.
- Needle: A beading needle will aid in threading smaller beads.
- Scissors: For cutting the thread or wire.
- Crimp Beads: Optional but useful for securing the ends.
Having these materials on hand will make the process smoother and more enjoyable.
Basic Techniques and Knots
Understanding fundamental techniques and knots is vital in creating a secure and aesthetically pleasing necklace. Let’s delve into the basics:
- Overhand Knot: Simple yet effective for securing beads in place.
- Slip Knot: Useful for adjustable necklaces.
- Surgeon’s Knot: Provides extra security for joined threads.
Mastering these simple knots can help prevent your necklace from falling apart and ensure longevity.

Step-by-Step Guide
Now that you have your materials and basic techniques down, let’s move on to creating your necklace.
Step 1: Planning Your Design
Planning is crucial for a coherent and beautiful necklace. Here’s a quick guide:
- Lay out your beads in the desired pattern before threading.
- Consider the length of the necklace.
- Decide on the position of any focal beads or charms.
Step 2: Threading the Beads
Now that your design is planned, it’s time to thread the beads:
- Cut a long piece of thread or wire, leaving extra for knots and adjustments.
- Attach a bead stopper or tape at one end to prevent beads from sliding off.
- Begin threading beads according to your planned design.
- Once all beads are threaded, double-check the pattern.
Step 3: Tying the Clasp
Tying the clasp securely is essential for the functionality of your necklace:
- Thread the end through one part of the clasp.
- Make an overhand knot close to the clasp.
- Slide a crimp bead over the knot if using, and secure with pliers.
- Repeat the process for the other end of the thread and the other part of the clasp.
Step 4: Final Touches and Adjustments
Finish your necklace with some final touches to ensure perfection:
- Trim any excess thread close to the knots.
- Use glue or clear nail polish on knots for added security.
- Check the overall balance and make any necessary adjustments.

Advanced Tips and Tricks
Once you’re comfortable with the basics, try incorporating these advanced tips to elevate your designs:
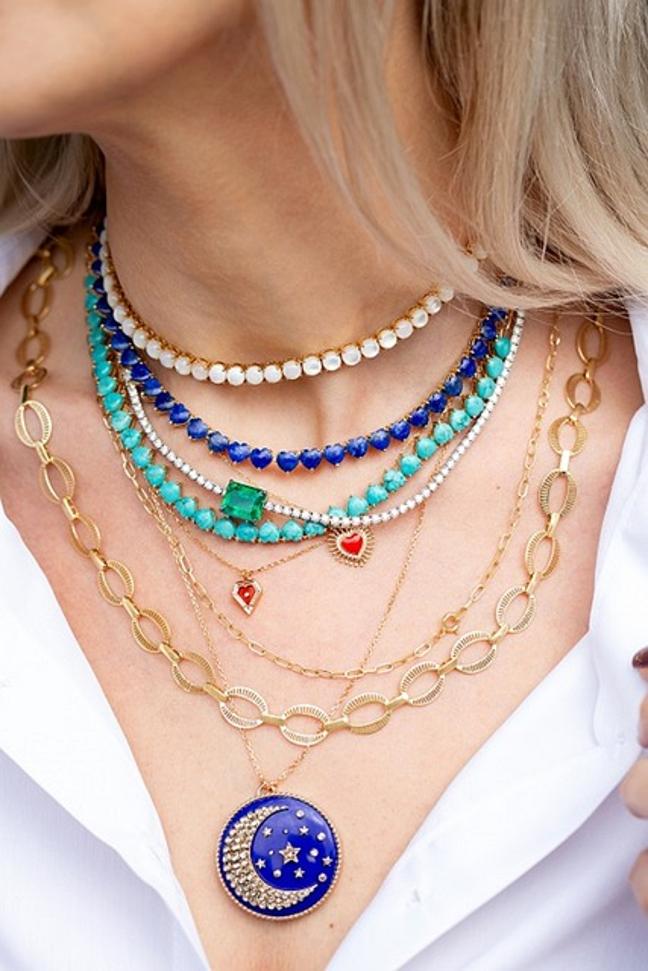
Adding Multiple Strands
Create a statement piece by adding multiple strands:
- Use a multi-strand clasp for easier handling.
- Ensure each strand is similar in length and pattern for a consistent look.
Incorporating Charms and Pendants
Add a personal touch by incorporating charms and pendants:
- Position charms evenly throughout the necklace or feature them as focal points.
- Use jump rings to attach charms securely.
Using Crimp Beads
Crimp beads can significantly enhance the durability of your necklace:
- Place crimp beads at the ends before tying the clasp.
- Secure with crimping pliers for a neat finish.
Common Mistakes and How to Avoid Them
To ensure a smooth crafting experience, it’s essential to be aware of common mistakes and how to avoid them:
- Loose Knots: Ensure knots are tight and secure to prevent beads from slipping.
- Improper Measurements: Double-check the length before finalizing your necklace to ensure it sits perfectly.
Conclusion
Creating a beaded necklace can be a rewarding and therapeutic activity. With the right materials, techniques, and a bit of practice, you’ll be crafting beautiful, professional-looking necklaces in no time. Enjoy the process and wear your creations with pride!
Frequently Asked Questions
What type of thread is best for beaded necklaces?
Nylon thread is highly recommended for its strength and flexibility. It can easily pass through beads multiple times without fraying.
How can I ensure the clasp stays secure?
Double-check knots and consider using crimp beads for added security. Applying a dab of glue or nail polish on knots can also help.
Can I use different types of beads in one necklace?
Absolutely! Mixing different bead types can add texture and visual interest to your necklace, making it unique and personalized.
