Introduction
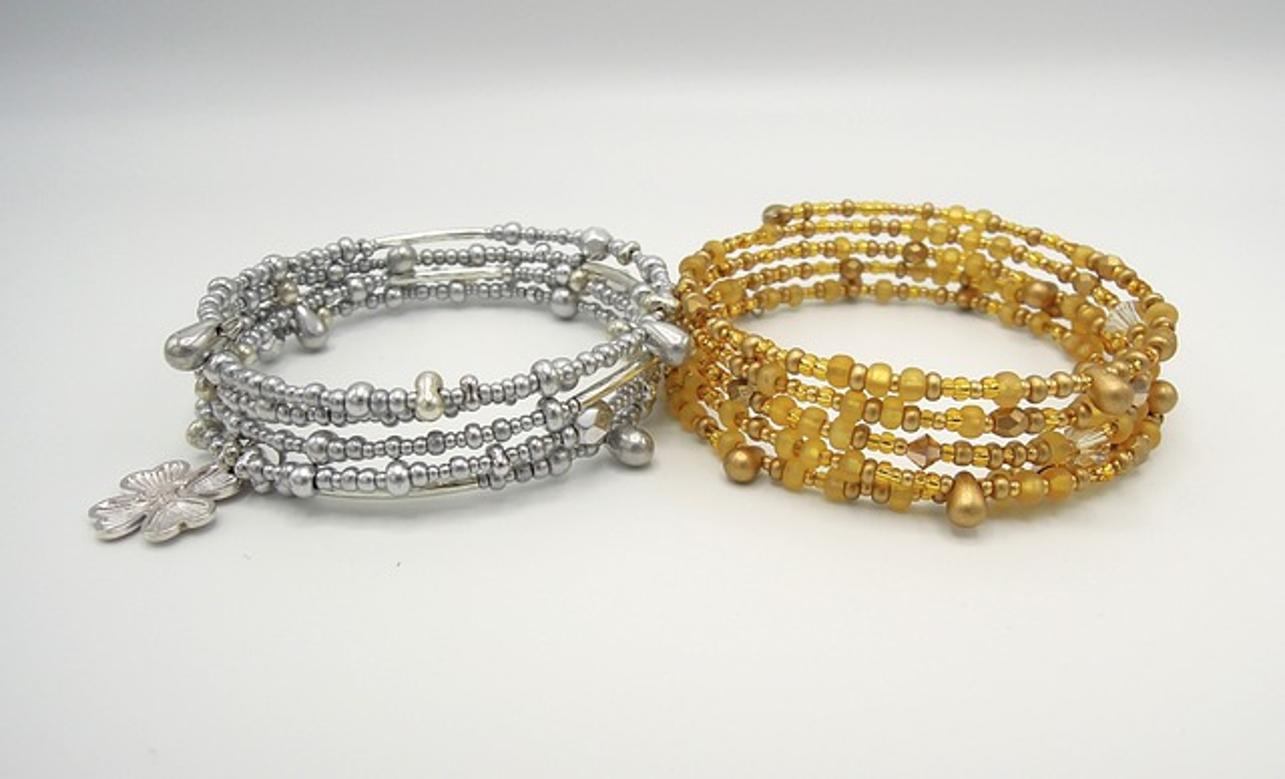
Mexican beaded bracelets are a stunning fusion of vibrant colors and intricate designs. Crafting these bracelets can be a delightful and rewarding experience, whether you’re a beginner or an experienced bead artist. They make fantastic gifts and can also be a wonderful addition to your own accessory collection. In this guide, we’ll walk you through the process of making these beautiful bracelets, from gathering the right materials to mastering essential techniques. Let’s dive into the colorful world of Mexican beadwork!

Materials Needed
Before you start, make sure you have all the necessary materials to create your Mexican beaded bracelet. Here’s a comprehensive list of what you’ll need:
- Seed beads: These small, rounded beads come in various sizes and vibrant colors. Choose sizes and colors that appeal to you and match your design.
- Thread: A strong, durable thread like nylon or FireLine is essential for beading. The thread should match or complement the colors of your beads.
- Beading needle: A fine, flexible needle such as a size 10 or 12 is perfect for threading small seed beads.
- Scissors: A sharp pair of scissors is crucial for cutting thread precisely.
- Clasp: You will need a clasp to finish your bracelet, ensuring it stays securely around your wrist. Options include lobster clasps, toggle clasps, and magnetic clasps.
- Beading mat: To keep your beads from rolling away, use a beading mat that provides a stable work surface.
- Bead organizer: Keep your beads separated and organized to streamline your beading process.
With these materials in hand, you’re ready to prepare your workspace and begin your beading journey.
Preparing Your Workspace
Creating a comfortable and efficient workspace is crucial for a smooth beading experience. Here are some tips to set up your area:
- Choose the right space: Find a well-lit, quiet space where you can concentrate without interruptions. Natural light is ideal, but a good table lamp works well too.
- Organize materials: Lay out your beading mat and arrange your beads, thread, needle, and scissors within easy reach. Use a bead organizer to keep your beads sorted by size and color.
- Comfortable seating: Invest in a comfortable chair that supports good posture, as you’ll be spending time bent over your project.
- Clean and clutter-free: Ensure your workspace is clean and free from dust and clutter. This helps you focus on your beading and prevents small beads from getting lost.
Now that your workspace is ready, it’s time to learn some basic techniques for beadwork.

Basic Techniques for Beadwork
Mastering basic beading techniques is essential for creating beautiful Mexican bracelets. Here are some techniques to get you started:
- Threading the needle: Cut a piece of thread about 18 inches long. Thread it through the eye of the needle and knot the end. Make sure the knot is secure to prevent beads from slipping off.
- Stringing beads: Pick up beads with the needle and slide them down to the knotted end of the thread. Continue stringing beads in your desired pattern.
- Basic stitch – Peyote stitch: This popular technique is ideal for creating flat, even surfaces. Start with an even number of beads, thread one bead onto the needle, and push the needle through the second bead from the end. Continue this pattern, always picking up one bead and threading through the next.
- Adding new thread: When you need to add new thread, leave a tail of the old thread and start a new piece of thread. Weave the new thread through several beads to secure it before continuing.
With these techniques under your belt, you’re ready to start creating your Mexican beaded bracelet.

Creating Your First Mexican Beaded Bracelet
Creating your first bracelet involves several detailed steps. Follow these guidelines for a successful project:
Step 1: Designing Your Bracelet
- Sketch your design: Begin by sketching out your bracelet design on paper. Consider color schemes and patterns that reflect traditional Mexican styles or your personal taste.
- Measure your wrist: Use a flexible tape measure to determine your wrist size. Add an extra inch to ensure a comfortable fit.
Step 2: Threading the Beads
- Cut a piece of thread longer than your wrist measurement, allowing extra length for weaving and knotting.
- Thread your needle and secure the end with a knot.
- Start threading your beads according to your design. Use the Peyote stitch for an even, flat pattern.
- Once you’ve threaded enough beads to wrap around your wrist, check the length and adjust as necessary.
Step 3: Securing the Ends
- Finishing the beaded strand: Tie a secure knot at the end of the beadwork. For added security, weave the thread back through several beads and knot again.
- Attaching the clasp: Use a small jump ring or directly thread the clasp onto the ends of the bracelet. Secure tightly to ensure the clasp holds.
- Trimming excess thread: Carefully trim any excess thread without cutting too close to the knots to avoid unraveling.
You’ve just created your first Mexican beaded bracelet! Let’s explore some advanced beading patterns to take your skills to the next level.
Advanced Beading Patterns
Once you’re comfortable with basic techniques, you can experiment with more complex patterns. Here are a few to consider:
- Chevron pattern: Alternate bead colors in a V-shape for a classic, eye-catching design.
- Floral motifs: Use different colors to create floral patterns, incorporating various sizes of beads for added texture.
- Geometric shapes: Experiment with triangles, squares, and other geometric shapes using contrasting bead colors.
Advanced patterns may take more time and patience, but the results are stunning and worth the effort.
Finishing Touches
Adding finishing touches can elevate your bracelet’s look:
- Embellishments: Add small charms or tassels to the ends or center of your bracelet for a unique touch.
- Polishing beads: Gently polish each bead with a soft cloth to enhance their shine.
- Inspecting for stability: Check the bracelet for any loose threads or beads and make necessary adjustments.
These small additions and checks ensure your bracelet looks perfect and lasts long.
Care and Maintenance
To keep your Mexican beaded bracelet in top condition, follow these care tips:
- Avoid water exposure: Water can weaken thread and fade beads, so remove your bracelet before swimming or bathing.
- Store properly: Store your bracelet in a dry, cool place, preferably in a jewelry box or pouch to prevent tangling and damage.
- Regular cleaning: Use a soft, dry cloth to wipe your bracelet regularly, keeping beads dirt-free.
Proper care maintains your bracelet’s beauty and durability for years to come.
Conclusion
Congratulations on learning how to make Mexican beaded bracelets! With patience and practice, you can create beautiful, intricate designs that showcase your creativity and craftsmanship. Enjoy the process and wear your handmade jewelry with pride.
Frequently Asked Questions
What type of beads should I use for Mexican bracelets?
Seed beads are ideal for Mexican beaded bracelets due to their small size and variety of colors. They allow for detailed, intricate patterns typically seen in Mexican designs.
How do I prevent my bracelet from breaking?
Ensure you use strong, durable thread like nylon or FireLine. Secure knots and avoid water exposure to maintain thread integrity.
Can I use non-traditional patterns and still call it Mexican?
Yes, you can incorporate non-traditional patterns while still embracing the vibrant colors and spirit of Mexican beadwork. Adding your personal touch makes the bracelet uniquely yours.
