Introduction
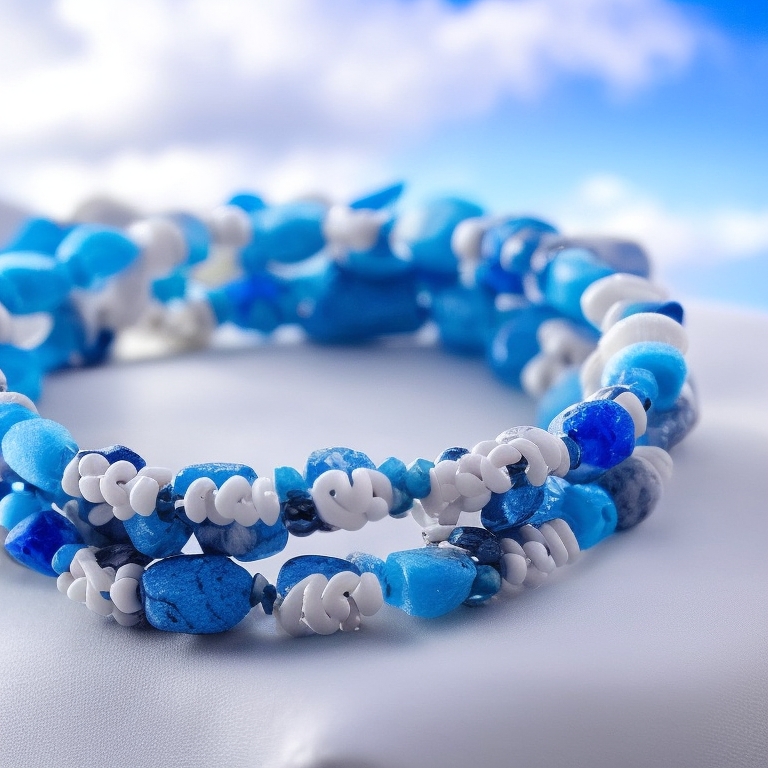
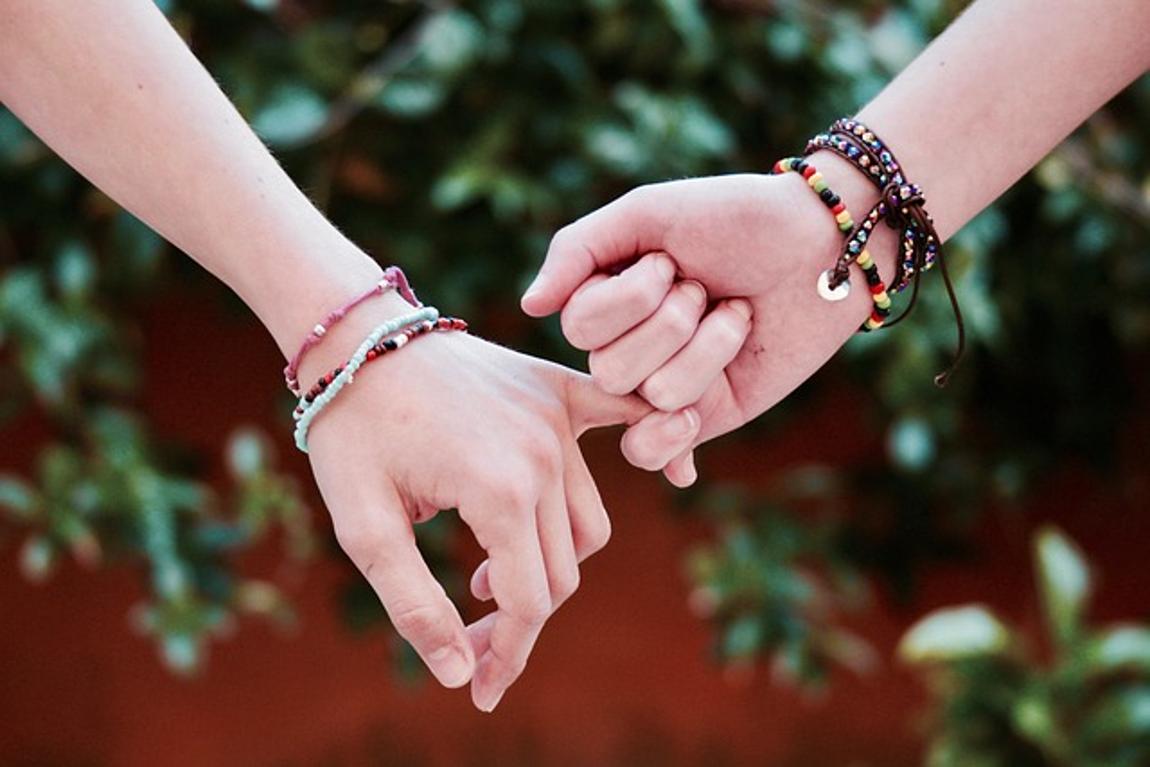
Crafting friendship bracelets is a cherished activity that strengthens bonds and lets creativity shine. But have you ever thought about taking these handmade tokens of affection to the next level by adding beads? With beads, you can infuse personality, color, and charm into your bracelets. In this detailed guide, we will walk you through the process of making friendship bracelets with beads, covering all the necessary materials, basic techniques, steps, tips, and more.

Materials Needed
Before diving into the crafting process, assembling the required materials is essential. Here’s a list of what you’ll need to create stunning beaded friendship bracelets:
- Embroidery Floss or Threads: These are fundamental for creating the base of your bracelet. Choose colors that complement your design.
- Beads: Select various beads in sizes and colors that match your vision.
- Scissors: For cutting threads neatly.
- Nail Polish or Glue: To seal the ends and ensure durability.
- Tape or Clipboard: To keep your bracelet in place while you work.
- Needle (optional): A thin needle can help when threading smaller beads.
Collecting these materials beforehand will ensure a smooth and enjoyable crafting journey.
Basic Techniques
Understanding a few basic techniques can make the bracelet-making process easier. Here are some fundamentals:
- Simple Knotting: The foundation of any friendship bracelet is good knotting. Tightly secured knots ensure that your beads stay in place.
- Threading Beads: Knowing how to thread beads efficiently will save time and minimize frustration.
- Pattern Making: Familiarize yourself with simple patterns before trying complex designs. Start with alternating colors or consistent patterns.
Once you get comfortable with these techniques, you’ll find it easier to navigate through more intricate designs.

Choosing Your Design
Choosing a design for your beaded friendship bracelet is where you can let your creativity flourish. Here are some considerations:
- Color Scheme: Decide whether you want a monochromatic look or a vibrant, multicolored design.
- Bead Arrangement: Think about how the beads will be placed. Do you want them spaced out or clustered together?
- Pattern Complexity: Beginners may opt for simpler patterns, such as alternating beads and knots, while more advanced crafters might prefer intricate designs involving multiple threads and bead types.
Settling on a design will give you a clearer direction and make the crafting process enjoyable and efficient.
Step-by-Step Instructions
Setting Up Your Work Area
Ensure you have a clean and spacious work area. Attach your threads to a flat surface using tape or a clipboard to keep them stable.
Instructions:
1. Cut your threads to the desired length, usually twice the wrist’s circumference.
2. Secure the threads to the flat surface, ensuring they’ve been laid out without tangles.
Starting the First Knot
Making the initial knot sets the foundation for your bracelet.
Instructions:
1. Align all threads and tie a basic knot at one end.
2. Divide your threads according to your design, e.g., three groups of two threads each for a chevron pattern.
Adding Beads to the Thread
Threading beads can make a visual difference in your bracelet.
Instructions:
1. Choose the thread for your first bead.
2. Carefully slide the bead onto the thread using either fingers or a needle.
3. Secure the bead’s position by making a simple knot right after it.
Continuing the Pattern
Keep the pattern consistent as you add beads.
Instructions:
1. Continue threading beads and securing them with knots.
2. Alternate bead colors, sizes, and positions according to your chosen design.
3. Maintain tension in your threads for an even bead distribution.
Finishing the Bracelet
Finish the bracelet securely to ensure it lasts.
Instructions:
1. Once you’ve reached the desired length, tie a sturdy knot at the end of the bracelet.
2. Optional: Apply a small dab of nail polish or glue to secure the knot.
3. Trim any excess threads to give it a neat finish.
Now, you’ve crafted your beautiful beaded friendship bracelet.

Tips and Tricks
Creating beaded friendship bracelets can be simplified with a few tips and tricks:
- Plan Your Design: Sketch your design before starting. This minimizes errors.
- Use a Needle: A thin needle can help thread smaller beads, saving time.
- Organize Beads: Store beads in small containers or compartments to keep them from mixing.
- Consistent Tension: Maintain consistent thread tension to avoid a loose or uneven bracelet.
- Experiment: Don’t be afraid to try various bead shapes, sizes, and colors to create unique designs.
Following these tips will make the process smoother and more enjoyable.
Aftercare Tips
Once you’ve made your bracelet, proper care will ensure it stays beautiful and intact:
- Avoid Water Exposure: Beaded bracelets can weaken if they get wet. Remove them before showering or swimming.
- Store Safely: Store your bracelet in a jewelry box or a soft pouch to prevent it from getting tangled or damaged.
- Regular Checks: Periodically check for loose beads or fraying threads and repair them promptly.
- Clean Gently: If your bracelet gets dirty, clean it gently with a soft cloth. Avoid using harsh chemicals that could damage the beads or threads.
These aftercare tips will help your beaded friendship bracelet maintain its beauty and durability over time.
Conclusion
Creating friendship bracelets with beads is a fantastic way to combine craftsmanship with personal expression. By following the steps outlined in this guide, you can create beautiful, unique bracelets that symbolize friendship and creativity. Gather your materials, choose your design, and let your imagination guide you as you craft these charming accessories. Happy crafting!
Frequently Asked Questions
What types of beads are best for friendship bracelets?
Seed beads, glass beads, and pony beads are popular choices due to their variety in colors, sizes, and ease of threading.
How long does it typically take to make a beaded bracelet?
Depending on the complexity of the design, it can take anywhere from 30 minutes to a few hours.
Can I wash my beaded friendship bracelet?
While occasional gentle cleaning is fine, avoid submerging your bracelet in water as it may weaken the threads and damage the beads over time.
