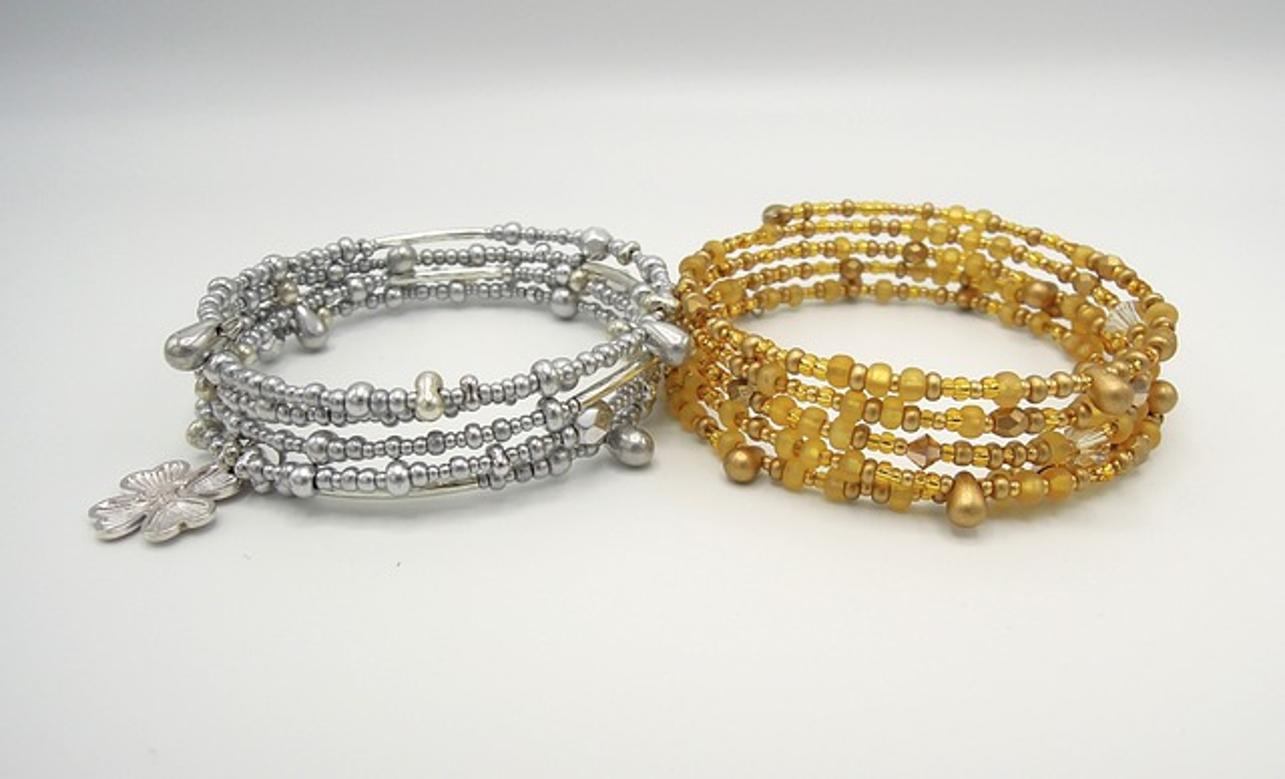
Introduction
Creating jewelry at home offers a unique blend of relaxation and creativity. One popular piece to start with is the beaded tennis bracelet. Not only is it a stylish addition to any wardrobe, but making it yourself also adds a touch of personal charm. This guide will walk you through the process, ensuring you have all the tools and techniques necessary to create a beautiful piece of wristwear.

Materials Needed
Before diving into the creation process, gather the essential materials. The right tools and supplies will make the construction smoother and more enjoyable.
- Beads: Choose your preferred beads. Popular options include glass, crystal, or semi-precious stones.
- Elastic Thread or Beading Wire: Both materials have their benefits; choose based on your comfort and design.
- Clasp and Jump Rings: A sturdy clasp ensures your bracelet stays secure.
- Beading Needle: Makes threading smaller beads easier.
- Scissors or Wire Cutters: For cleanly cutting the thread or wire.
- Bead Board or Mat: Keeps your beads from rolling away during assembly.
Having all materials readily available will make the subsequent steps straightforward.

Design Preparation
Before starting to bead, plan your bracelet’s design. Lay out your beads on a bead board or mat. This preview allows you to visualize the final product and adjust any design elements.
- Pattern Design: Decide on a repeating pattern, which may include alternating colors or bead sizes.
- Measurement: Measure your wrist and add about an inch. This extra length ensures the bracelet isn’t too tight.
- Arrangement: Place the beads in the chosen pattern on the board. Experiment with different beads until satisfied with the design.
With a clear design in mind and materials ready, you will find the beading process to be efficient and enjoyable.
Starting the Bracelet
Begin by setting up your workspace with all materials within reach. Let’s get started on the actual bracelet construction.
- Cut the Thread or Wire: Measure your thread or wire to about 12 inches longer than your wrist measurement. This extra length allows for easier handling and securing the ends.
- Attach the Clasp: If using beading wire, start by securing one end to your clasp using a crimp bead. For elastic thread, simply tie a secure knot around the clasp.
- Threading the Needle: For precise beading, threading a needle makes the process easier, especially with smaller beads.
This initial setup is crucial as it sets the foundation for the rest of the bracelet.
Beading Techniques
Now comes the heart of the process – the beading. Precision and patience are key here.
- Start Beading: Begin threading beads according to your laid-out pattern. Push each bead firmly but gently to the end of the thread or wire.
- Check Progress: Periodically check the length against your wrist to ensure the length and design alignment. Adjust as necessary.
- Consistent Tension: Ensure consistent tension to avoid loose or overly tight sections.
By following these techniques, you create a uniform and aesthetically pleasing bracelet that reflects your initial design vision.

Completing the Bracelet
With all beads in place, it’s time to finalize your creation.
- Secure the End: If using wire, pass the end through a crimp bead, back through the last few beads, and crush the crimp bead for security. Trim any excess wire.
- Tie Off: For elastic thread, tie multiple secure knots. Apply a drop of jewelry glue on the knot for extra security before trimming the excess thread.
- Attach the Other Clasp Part: Depending on your clasp type, secure the other end to the clasp. Ensure all attachments are tight and secure.
Completing the bracelet with precision ensures lasting wear and a professional finish.
Troubleshooting Common Issues
Even well-prepared crafters face occasional hiccups. Here are common problems and quick fixes:
- Loose Beads: Re-check tension while threading. Tighten where necessary.
- Breakages: If the thread breaks, re-thread and knot securely at the break point.
- Uneven Length: Measure frequently against your wrist to ensure proper length.
Practical troubleshooting will help overcome most challenges encountered during crafting.
Care and Maintenance
To ensure your beaded tennis bracelet remains a timeless accessory, proper care is essential.
- Avoid Water: Keep the bracelet dry to prevent damage to beads and thread.
- Storage: Store it in a soft pouch or jewelry box to avoid scratches and tangles.
- Regular Checks: Periodically check for wear and tear, especially around the clasp and knots, and repair immediately if necessary.
By following these care tips, you will maintain the bracelet’s beauty and durability.
Conclusion
Crafting a beaded tennis bracelet combines creativity with skill. With the right materials, design, and techniques, anyone can create a beautiful piece of jewelry. Whether for personal wear or as a thoughtful gift, the result is a unique and attractive accessory that showcases personal craftsmanship.
Frequently Asked Questions
What types of beads are best for a tennis bracelet?
For a refined look, opt for crystals or semi-precious stones. Glass beads offer versatility in color and finish, making them suitable for various designs.
How do I ensure my bracelet is the right size?
Measure your wrist accurately and add about an inch for comfort. Consistently check the bracelet’s length against your wrist as you bead.
Can I use different clasp types for my beaded bracelet?
Yes, you can choose from a range of clasps including lobster claws, toggles, or magnetic clasps based on preference and ease of use. Each type offers different levels of security and style.
