Introduction
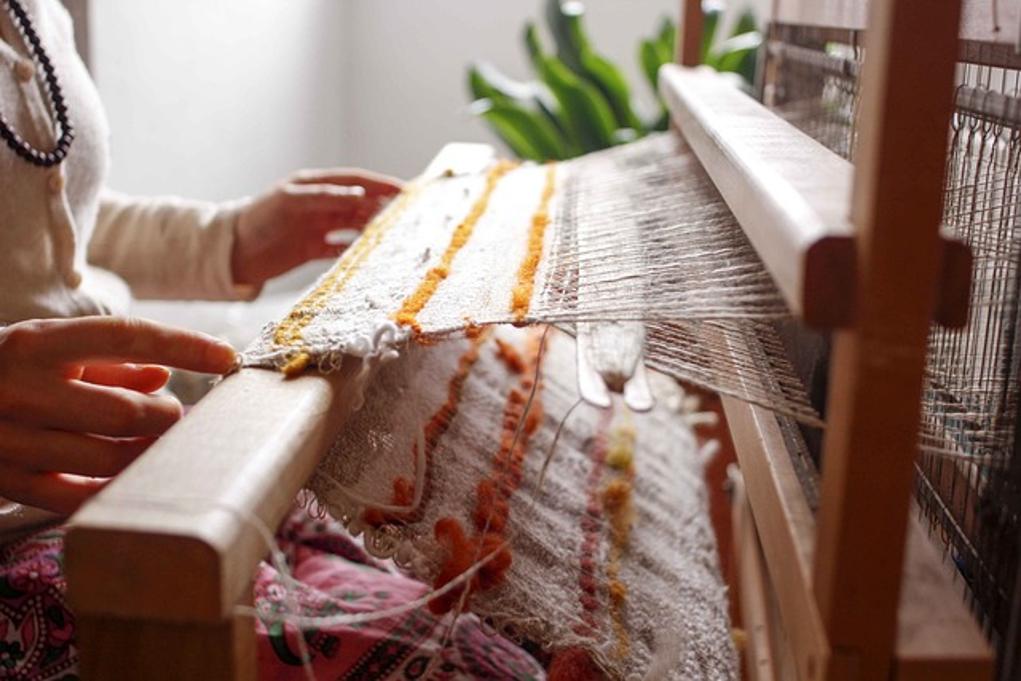
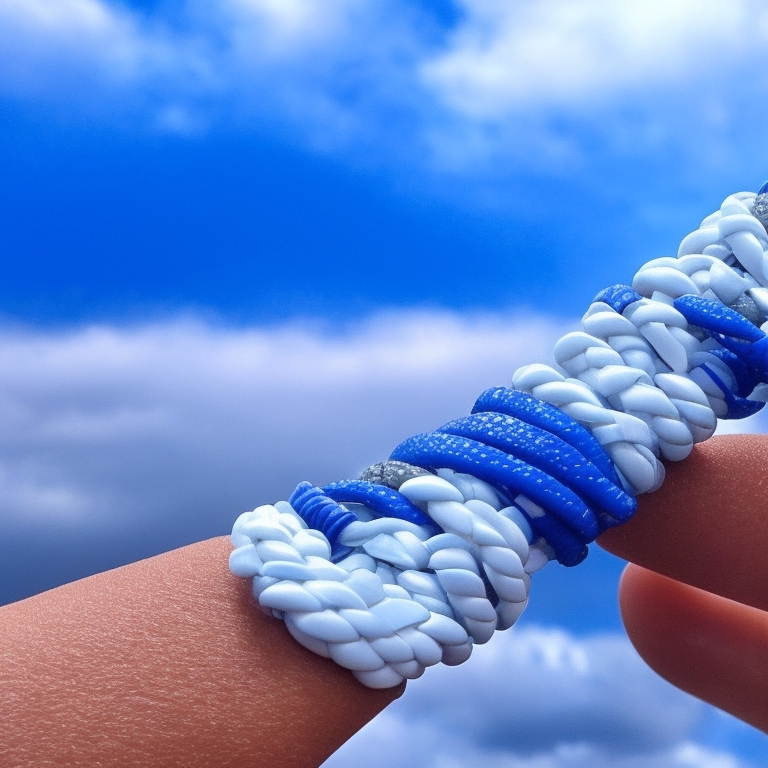
Finishing your beaded loom bracelet with leather elevates its elegance and wearability. While weaving the beads on the loom creates intricate patterns, attaching leather ends provides a polished look and sturdy wearable jewelry. This guide will walk you through the essential steps, from materials and tools needed to final touches and maintenance. Whether you’re a seasoned crafter or a beginner, you’ll find valuable insights to achieve professional results.

Materials and Tools Needed
Before starting, gather all necessary materials and tools to ensure a smooth process. Here’s what you’ll need:
- Beaded loom bracelet: Your completed woven pattern on the loom.
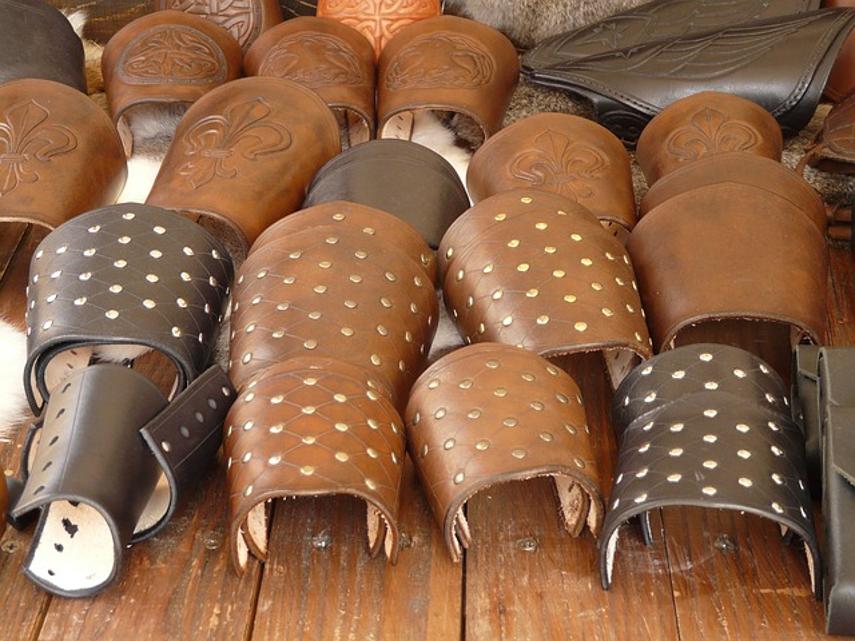
- Leather strips: Typically around 2 to 3 inches longer than your bracelet’s width.
- Scissors: Sharp and sturdy enough to cut leather.
- Leather punch: To create holes in the leather.
- Needle and thread: Strong and suitable for sewing through leather.
- Glue: A strong adhesive designed for leather applications.
- Closures: Lobster clasps, button closures, or snap fasteners.
- Pliers: For attaching closures.
Having these items ready will streamline the bracelet finishing process, allowing you to focus on the craftsmanship of attaching leather to your loom bracelet.
Preparing the Bracelet for Finishing
Once you’ve completed the beadwork on your loom, it’s essential to secure it before adding leather. Here’s how to prepare your bracelet for the finishing touches:
- Tie Off Loose Ends: Ensure that all loose threads from your weaving are securely knotted and trimmed. This prevents unraveling during wear.
- Trim Warp Threads: Leave about 1-2 inches of warp threads at each end of the bracelet. These will be useful in attaching the leather.
- Align the Beads: Check that all beads are aligned and positioned evenly along the bracelet length. Any irregularities can cause issues while attaching the leather.
Properly preparing your bracelet sets a solid foundation for the leather attachment process, ensuring a neat and professional finish.
Cutting and Preparing the Leather
Cutting and preparing the leather pieces is crucial for a seamless and durable finish. Follow these steps to get your leather ready:
- Measure and Cut: Measure your bracelet’s width and cut two leather strips accordingly. Each strip should be 2 to 3 inches longer than the bracelet’s width.
- Punching Holes: Use a leather punch to create small holes along the edges of the leather strips. These holes will be used for stitching, so place them evenly and close enough to secure the bracelet tightly.
- Edge Treatment: Apply edge coat or sealant to the leather edges to prevent fraying and add a polished look.
Preparing your leather correctly ensures that it will not only look great but also securely hold the bracelet for long-term wear.

Attaching the Leather Ends
Attaching the leather ends to your beaded loom bracelet is the most critical step. Here’s how to do it:
- Position the Leather: Place one leather strip on each end of the bracelet, ensuring that the punched holes align with the warp threads.
- Secure with Glue: Apply a small amount of strong adhesive along the back of the leather strip, press it onto the end of the bracelet, and let it dry completely.
- Stitching: Once the glue is dry, thread a strong needle and begin stitching through the punched holes and the bracelet’s warp threads. Use a consistent stitch pattern, such as a saddle stitch, to ensure uniformity and strength.
- Knot and Trim: When you’ve finished stitching, securely knot the thread and trim any excess.
By carefully attaching the leather ends, you ensure that your bracelet not only looks polished but is also sturdy and ready for wear.
Adding a Closure
With the leather ends securely in place, the next step is adding a closure. The right closure not only secures the bracelet but enhances its overall look. Here are steps to add a closure:
- Choose a Closure Type: Select a closure type that suits your design—common options include lobster clasps, button closures, and snap fasteners.
- Attach the Closure to Leather: Use pliers and any necessary findings to attach the chosen closure to the leather ends. For example, if you’re using a lobster clasp, you might need jump rings.
- Reinforce the Attachment: Ensure that the closure is securely attached by double-checking the connections and reinforcing them with stitches if necessary.
Adding the right closure completes the bracelet, making it functional while maintaining its aesthetic appeal.

Final Touches and Maintenance
To give your bracelet a professional finish and ensure its longevity, consider these final touches and maintenance tips:
- Edge Smoothening: Smooth out any rough edges of the leather with a burnishing tool or an edge slicker.
- Leather Condition: Apply a leather conditioner to keep the leather supple and looking new.
- Regular Maintenance: Periodically check the bracelet for any loose threads or worn-out parts and repair them as needed.
Regular care and attention to detail will keep your beaded loom bracelet looking beautiful and wearable for years to come.
Conclusion
Finishing your beaded loom bracelet with leather adds a sophisticated touch, enhancing both its beauty and durability. From gathering materials to attaching leather ends and closures, each step is crucial for a professional finish. By following this detailed guide, you can confidently complete your beadwork with stunning leather accents, creating a unique piece of jewelry that you’ll be proud to wear or give as a gift.
Frequently Asked Questions
What type of leather is best for finishing a beaded loom bracelet?
Genuine cowhide leather is preferred for its durability and smooth finish. It can withstand daily wear and tear, making it ideal for bracelets.
Can I use faux leather for this process?
Yes, faux leather can be used as an alternative. It’s easier to work with, more affordable, and available in various colors and textures. However, it may not last as long as genuine leather.
How do I prevent leather from fraying?
To prevent fraying, apply an edge coat or sealant to the leather edges after cutting. This will keep the edges smooth and extend the lifespan of your bracelet.
