Introduction
Creating your own jewelry is an incredibly rewarding experience. A necklace pendant, in particular, offers countless design possibilities and personal touches. This guide will walk you through the entire process of creating a stunning necklace pendant—from the initial design stages to the final assembly. Whether you’re looking to craft a piece for yourself or as a gift, this guide makes the process simple and enjoyable. Dive in and discover the joy of jewelry-making!

Materials Needed
Before diving into the design process, it’s essential to gather all the materials you’ll require. Having everything ready will make the crafting process smoother and more enjoyable.
You will need:
1. Sketching Tools: A sketchbook, pencils, and erasers.
2. Metals: Silver is popular, but copper or gold are also options.
3. Gemstones: Choose based on your design; clarity and color are essential considerations.
4. Jeweler’s Saw: For cutting metal.
5. Files and Sandpapers: For smoothing edges.
6. Soldering Kit: Includes a torch, solder, and flux.
7. Pliers: Flat-nose, round-nose, and chain-nose pliers.
8. Bezel Wire: For setting gemstones.
9. Chain: To create the necklace.
10. Polishing Cloth: To give your pendant a brilliant shine.
With these materials at hand, you’re ready to start designing your unique necklace pendant.
Design Process
Creating a stunning pendant begins with a clear design. This section will help you translate your ideas into a tangible creation.
Sketching Your Ideas
Start by sketching various designs for your pendant. Consider themes, shapes, and personal touches:
– Themes: Nature, abstract, geometric, or classic designs can inspire you.
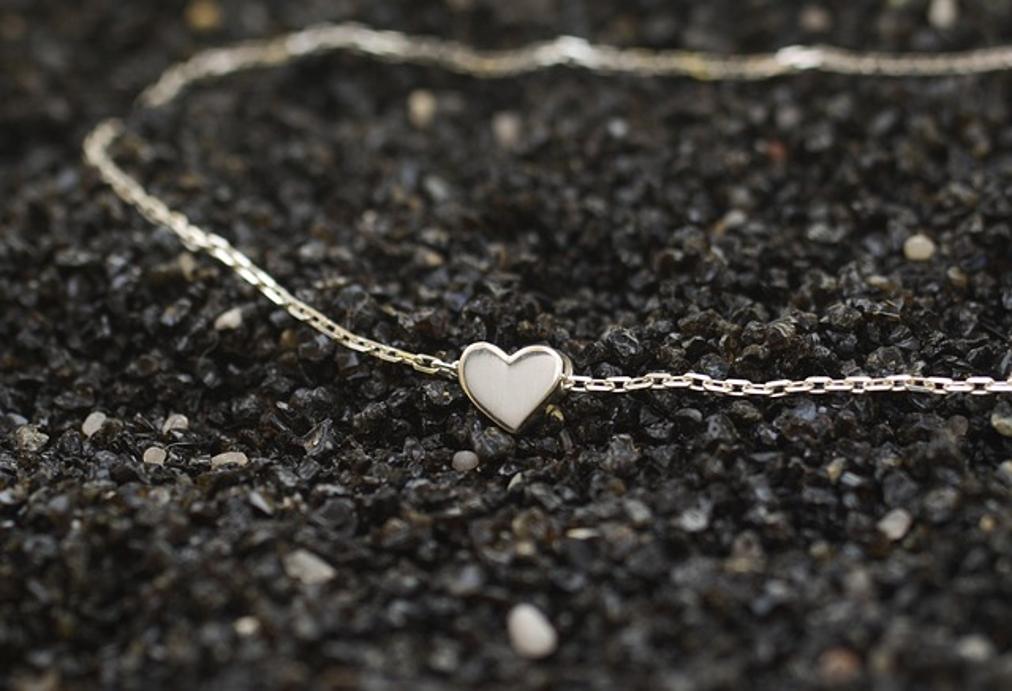
– Shapes: Circles, teardrops, hearts, or custom shapes.
– Personal Touches: Initials, symbols, or special dates.
Once satisfied with a design, refine it, considering proportions and the placement of gemstones.
Choosing the Right Materials
Your sketch will guide your material choice:
– Metal: Take into account color, durability, and personal preference. Silver is versatile, while gold adds luxury.
– Gemstones: Select stones that complement your metal and design. Ensure you have the right size and shape for the setting.
With your materials selected, you’re ready to move on to the crafting phase.

Crafting the Pendant
This stage focuses on turning your design into reality, a crucial part of the process.
Cutting and Shaping Metal
- Transfer Design: Use transfer paper to trace your design onto the metal.
- Cut Metal: Use a jeweler’s saw to carefully cut along the traced lines.
- Shape Edges: Smooth the edges with files and sandpaper for a clean finish.
Setting the Gemstone
- Prepare the Bezel: Cut a piece of bezel wire to fit around your gemstone snugly.
- Attach Bezel: Solder the bezel to the metal base.
- Position Gemstone: Place the gemstone inside the bezel and carefully press the bezel edges around it to secure.
It’s essential to ensure the gemstone is secure and properly centered within the pendant for a professional look.
Assembling the Necklace
Now that your pendant is crafted, you can proceed to assemble the entire piece.
Choosing a Chain
Select a chain that complements and enhances your pendant’s design. Consider:
1. Length: Common lengths are 16-20 inches.
2. Thickness: Ensure the chain can support the pendant’s weight.
3. Style: Match the chain style to the pendant (e.g., delicate chains for elegant pendants).
Attaching the Pendant
- Use a Jump Ring: Open a jump ring using pliers.
- Attach: Thread the jump ring through the pendant’s bail and close it securely.
- Connect to Chain: Slide the chain through the jump ring, positioning the pendant as the focal point.
Finishing Touches
The final steps will ensure your pendant looks polished and professional.
Polishing the Pendant
Use a polishing cloth to bring out the metal’s shine. Ensure to:
– Remove any tarnish.
– Achieve a smooth, brilliant finish.
Quality Check
- Secure gemstone setting.
- Smooth metal edges.
- Secure attachment to the chain.

Conclusion
Creating a custom necklace pendant is both fun and rewarding. By following these steps, you’ll have a unique piece that holds personal significance and showcases your creativity. Enjoy wearing your new pendant or gifting it to someone special!
Frequently Asked Questions
What materials are best for beginners?
For beginners, silver and copper are excellent choices. They are relatively easy to work with and are cost-effective compared to gold.
How do I ensure my pendant is durable?
To ensure durability, make sure all connections are securely soldered, and the gemstone is firmly set. Regular quality checks during and after the crafting process can prevent issues.
Can I customize my pendant with engravings?
Yes, you can personalize your pendant with engravings. Consider adding names, dates, or small designs to make your piece truly unique.
