Introduction
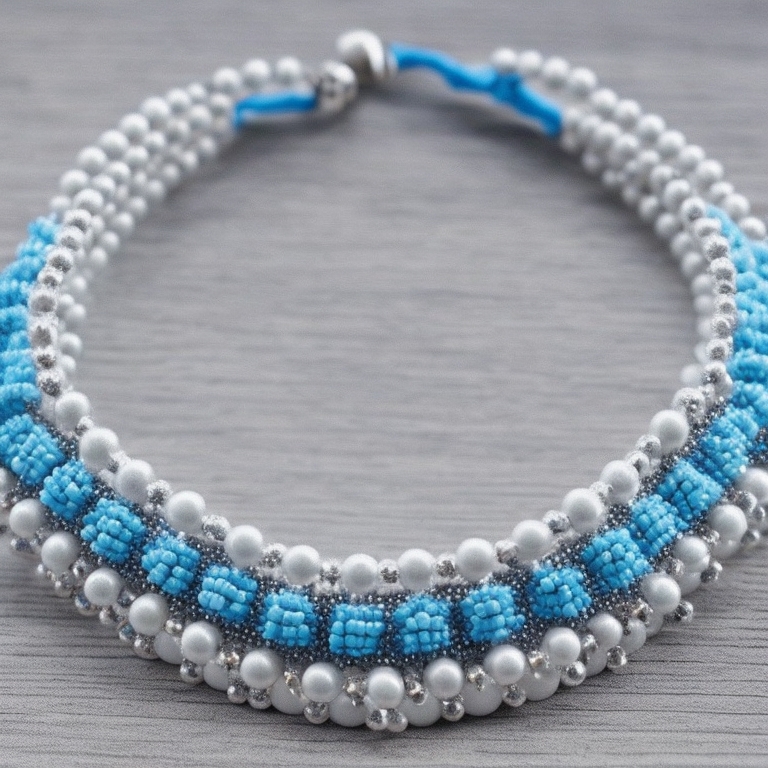
Creating your own beaded fringe bracelet can be a rewarding and enjoyable experience. This article will guide you through each step of the process, offering detailed instructions so you can craft a beautiful and personalized piece of jewelry. Whether you’re a beginner or an experienced crafter, you’ll find valuable insights and tips to perfect your beading skills.

Materials Needed
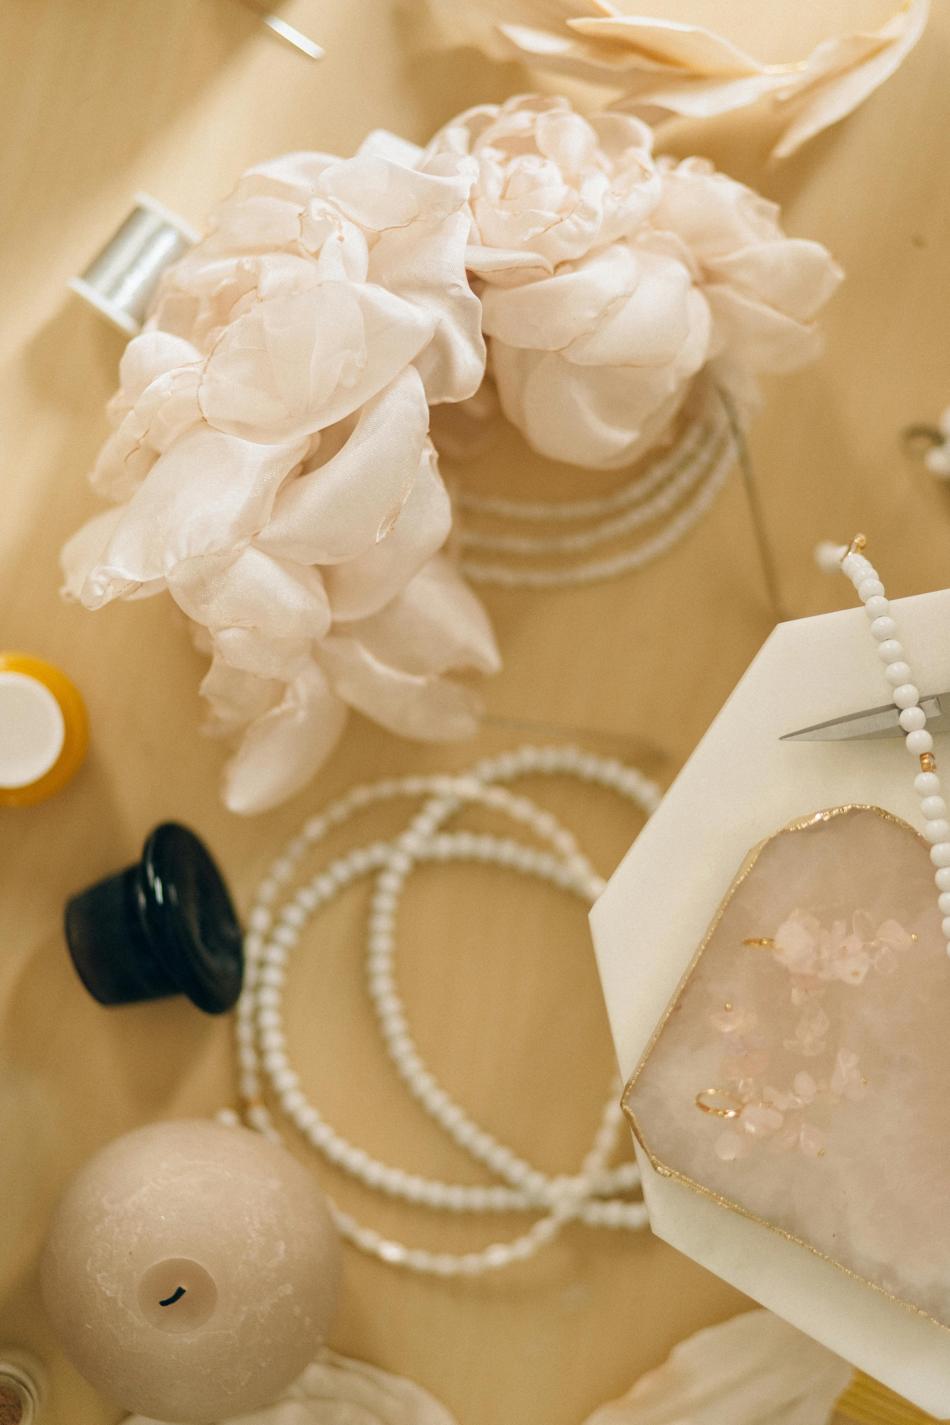
Before you begin, gather all the necessary materials to ensure a smooth crafting experience. Here’s what you’ll need:
- Beads: Select a variety of beads for your fringe. Seed beads, glass beads, and crystal beads work well.
- Beading Thread: Choose a strong beading thread like Nymo or FireLine.
- Beading Needle: A thin, flexible needle that fits through your beads.
- Clasp: A toggle, lobster, or magnetic clasp for securing your bracelet.
- Jump Rings: Small metal rings to attach your clasp.
- Scissors: Sharp scissors for cutting thread.
- Beading Mat: To keep your beads from rolling away.
Having these materials at hand minimizes interruptions and helps maintain your focus.
Preparing Your Workspace
A well-organized workspace contributes to efficient crafting. Find a flat and clean surface where you can comfortably spread out your materials. Use a beading mat to prevent beads from scattering. Ensure you have good lighting to clearly see your work, and keep all your tools within reach. This setup helps you work efficiently and prevents frustration.
Step-by-Step Instructions to Create a Beaded Fringe Bracelet
With your materials ready and workspace organized, let’s start making your beaded fringe bracelet. Follow these detailed steps to ensure a stunning final product.
Step 1: Organizing Your Materials
Start by organizing your beads according to size, color, and type. This helps you easily locate the beads you need at each step of the process.
- Separate the Beads: Use small bowls or compartments to keep different types of beads apart.
- Measure Your Beading Thread: Cut a piece of beading thread about four times the length of your wrist.
- Thread Your Needle: Thread your beading needle and tie a double knot at the end of the thread.
This initial organization saves time and makes the beading process smoother.
Step 2: Basic Beading Techniques
Before diving into the bracelet creation, familiarize yourself with some basic beading techniques:
- Single Bead Stitch: Pass the needle through the bead and pull the thread through until the bead rests against the knot.
- Backstitch: Pass the needle through several beads, then back through a few to secure them in place.
- Knotting: Make small knots between beads to add texture and security to your bracelet.
These techniques form the foundation for more complex beading patterns.
Step 3: Creating the Base Bracelet
To create the base of your bracelet:
- Stringing Beads: Decide on a pattern or randomly string the beads until you reach the desired length. Ensure it wraps comfortably around your wrist.
- Adding Clasp: Attach a jump ring to one end of the bracelet. Thread the jump ring through the clasp and close it securely. Repeat on the other end of the bracelet.
This forms the basic structure upon which you’ll add your fringe beads.
Step 4: Adding the Fringe Beads
Adding fringes gives your bracelet a unique and decorative touch.
- Attach Fringe Beads: Thread a separate piece of beading thread with a needle. Tie it securely to the base bracelet.
- Add Beads to Thread: String your desired number of fringe beads onto the thread and secure with a backstitch. The number of beads can vary depending on the desired length of the fringe.
- Secure and Repeat: Repeat around the bracelet, spacing your fringe equally for a uniform look.
The fringe adds movement and charm to your bracelet, making it stand out.

Tips and Tricks for Perfect Beaded Bracelets
Creating beaded bracelets is an art that improves with practice. Here are some tips to help you achieve perfection:
- Consistent Tension: Keep the thread tension consistent to avoid gaps between beads.
- Quality Materials: Invest in high-quality beads and thread for durability and a professional look.
- Pacing: Take your time; rushing can lead to mistakes and frustration.
- Experiment: Don’t be afraid to try new patterns and color combinations.
- Tools: Use a bead stopper to prevent threads from slipping and causing beads to scatter.
These tips will enhance your beading experience, ensuring a polished and professional finish.

Customization Ideas
Personalizing your beaded fringe bracelet makes it truly unique. Consider these customization ideas:
- Color Themes: Choose color schemes that match your wardrobe or favorite hues.
- Mix and Match Beads: Combine different bead types like pearls, crystals, and seed beads for texture and visual interest.
- Charms and Pendants: Add small charms or pendants to the bracelet for added personality.
- Layering: Create multiple fringe strands for a fuller look, or layer different bracelets together.
These customization options allow you to create a bracelet that perfectly reflects your style and creativity.
Conclusion
Crafting a beaded fringe bracelet is both fun and rewarding. With the right materials and a step-by-step approach, you can create a stunning accessory that stands out. Remember, practice makes perfect, so keep honing your skills and experimenting with new techniques. Happy beading!
Frequently Asked Questions
What are the best types of beads for fringe bracelets?
The best beads for fringe bracelets are seed beads, glass beads, and crystal beads as they are small, lightweight, and available in various colors and finishes.
How do I secure the fringe beads properly?
To secure fringe beads, use a beading needle and thread, and employ techniques like backstitching to ensure each fringe is firmly attached to the base bracelet.
Can I make beaded fringe bracelets without prior experience?
Absolutely! With detailed instructions and basic beading techniques, beginners can successfully create beautiful beaded fringe bracelets. Start simple and gradually take on more complex designs.
